|
Step 2 Add a WCMPanelBean
Once
you have created the applet object, you now need to add components to
it. In the Eclipse Visual Editor you will use the Choose Bean option on
the Palette to select WCM components. The first component to add is a
WCMPanelBean, which will house all of the rest of the applet's
components. When creating an applet using WCM components, this is
usually the first component that you will add. To begin, click on the
Choose Bean option on the Palette. 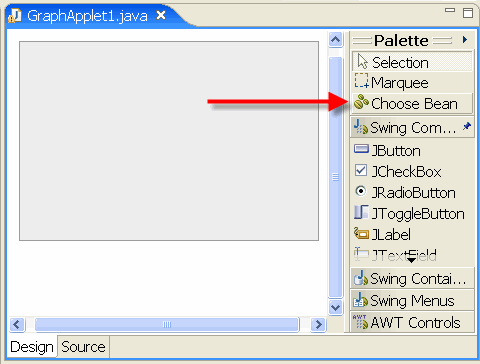 This
will bring up a dialog box box. In the space at the top, type in
"wcmpa", which will display a list of all components that start with
these letters. Click on WCMPanelBean, then click OK. 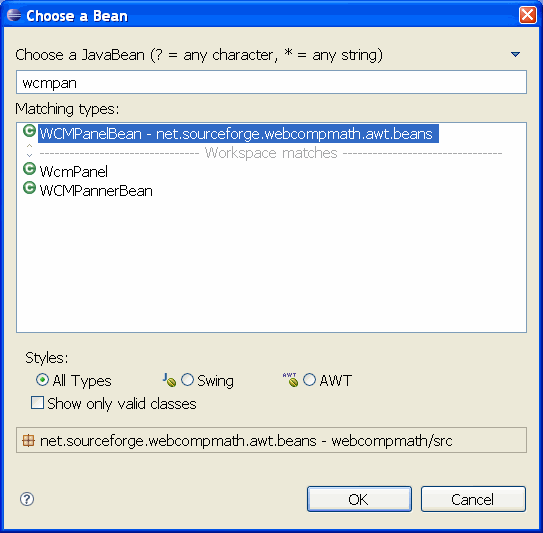
Move
the cursor over the gray rectangle that represents the applet, until
you see "Center" appear, then click to drop the WCMPanelBean onto the
center of the applet. There is also a North, South, East, and West
position (we'll use those in a moment). 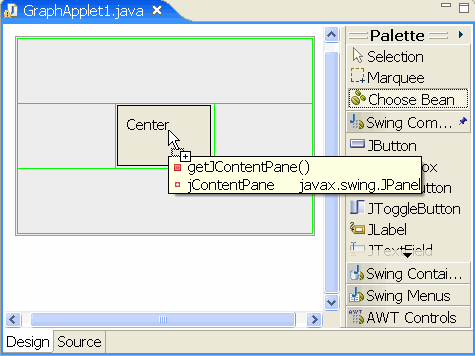
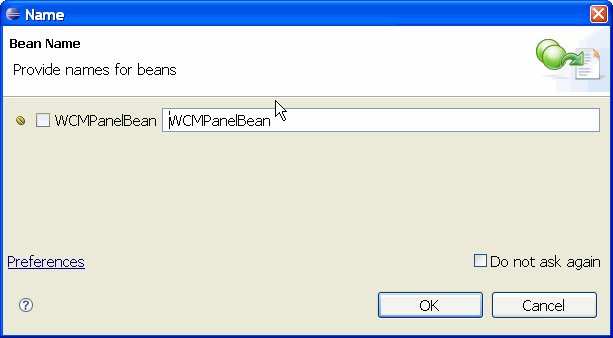
Another dialog box will pop up that let's you give the component a name. For now, just click OK to accept the default name.
Congradulations! You've just added your first component to the applet. Adding other components follows this same set of steps:
- Click on Choose Bean on the Palette
- Type the first couple of characters of the type of component, then select the one you want from the list and click OK.
- Click on the location on the applet where you want the component to appear (Center, North, South, East, West).
- Give your component a name, or accept the suggested name.
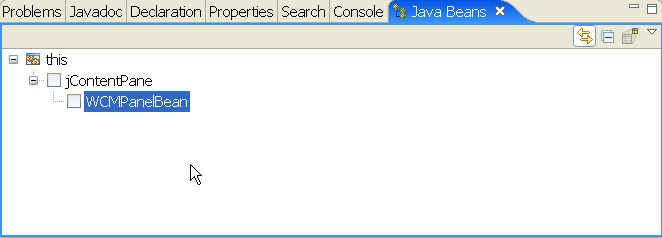
If you click on the Java Beans tab in Eclipse, you will see a list of the components you've added so far.
|


